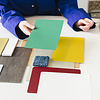
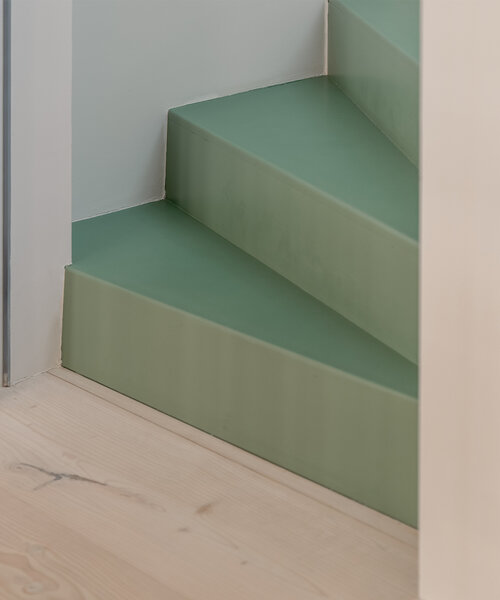
5 tips for colour blocks with perfect edges

Are the preparations for your painting project almost complete? Have you cleaned everything well and, if necessary, lightly sanded the surface? Then it's time to take the final step of your preparation: applying masking tape. Whether you want to protect sockets, baseboards or switches or create sleek colour blocks, masking tape is your partner in crime. With these five tips, your edges will not only be straight, but razor sharp. Let's paint perfection!
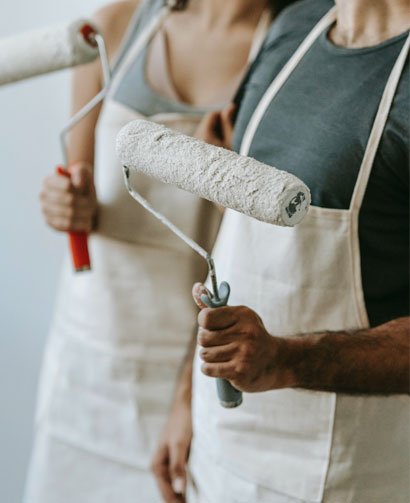
Invest in high quality painting tools
Quality pays off! Choose high-quality masking tape, but also top-quality brushes and rollers. If you have put a lot of time into painting, you don't want to waste those efforts. So go for sustainable painting tools.
Longer strips of tape = sleeker edges
Use long strips of masking tape to keep the number of 'connections' to a minimum. Fewer interruptions mean nicer edges.
Prepare like a pro
Make sure that your masking tape adheres well to the surface everywhere, so that no paint can seep underneath. Eliminate any possible air bubbles by rubbing the applied tape thoroughly with your finger.
Paint smart
Paint as much as possible away from the tape instead of towards it. This way you avoid accidentally pushing paint under the tape while painting.
Timing is key : remove the masking tape while the paint is still wet
Do not wait until the paint is dry before removing the masking tape. You will get the best result if you remove the tape before the paint has completely dried. This way you get a flawless result!